
Back about a year ago I wanted to teach myself how to use the cloud. Those mythical servers in the sky seem to be all the rage now a days so it was about time I got to learning them. The first revision of this site was actually a static website that I made with Pelican for Python and wrote all the posts in markdown. From there I was able to modify the Azure Sync command to upload it to the cloud. Using Azure Storage and CDN allowed me not to have to worry about SSL certificates or anything to keep my website all HTTPS and not HTTP.
The other nice part of using the CDN is that I can keep my WordPress server small without having to store the photos on it or host them.
This post will handle the uploading and set up of the Azure half, and the next post I will go over how I use ImageMagik, Python, and Azure Copy to automate all of my photos.
Setting up Azure Data Storage
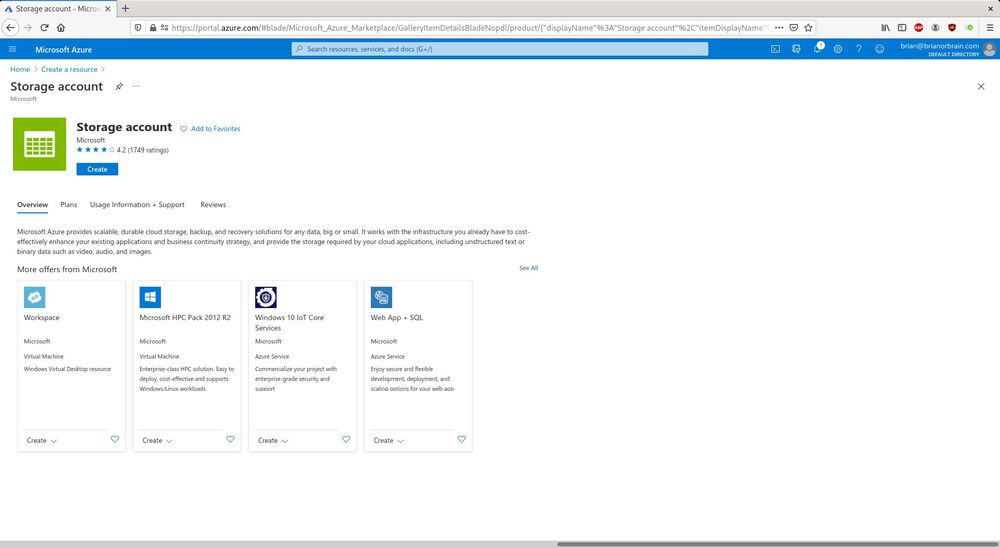
I am going to assume that you already have an Azure Portal login all set up. If not, head over here to get signed up.
Once your logged in, go ahead and create a resource. In this case we want to create a Storage Account.
Once the Storage Account is created, go ahead and click on containers and create a new BLOB container (Binary Large OBject).
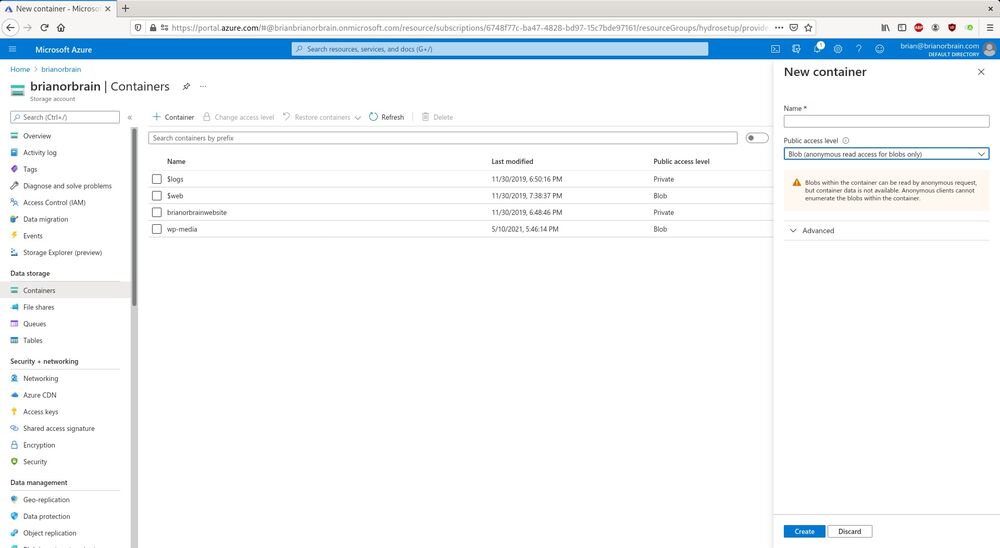
I used wp-media just for similarity to how WordPress saves it. Also, set the public access level to BLOB. This will allow the CDN to access files, but not allow it to do a directory search of all the files.
We now have a space to save all of our files. Up next is our custom domain name and the CDN endpoint.
Now go ahead and click on Azure CDN under Security + Networking.
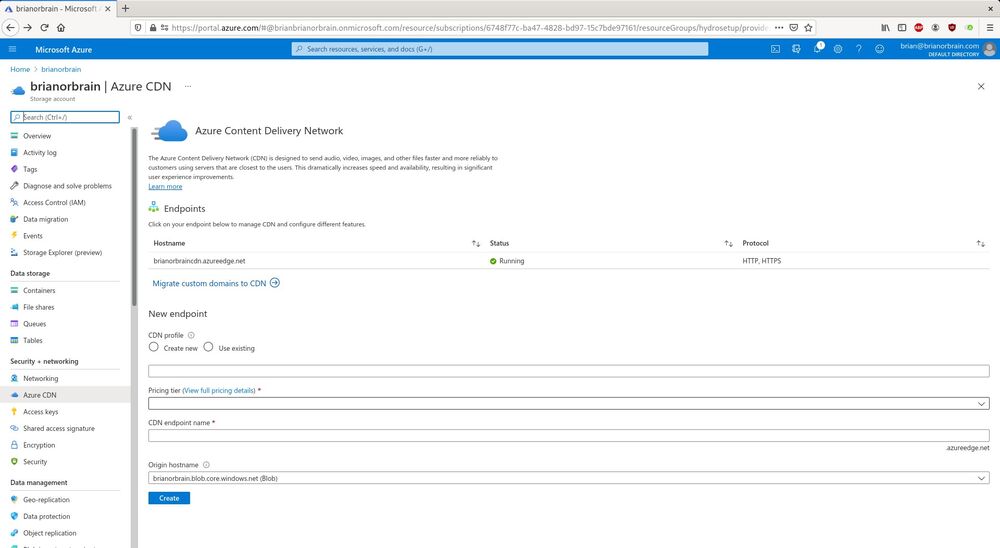
Under New endpoint, type in a name for this CDN, then select a pricing tier. I always use the Standard Microsoft and have not had an issue.
For CDN endpoint name, just use the name for your site. It is not critical as this is internal to azure. And finally select the Origin hostname that is the same name as the Storage Account Container you just created. Once that processes you will be left with an endpoint configuration page.

Now take note of your Endpoint hostname. This can be used as is, but I see it as ugly and would like to change it over to my own custom name. This way I can move storage providers in the future, if a need ever arose.
With the Endpoint hostname copied, its time to go to your domain name provider. I use Gandi.net for my domain, but have CloudFlare set up as the DNS as I am using there other services. The examples here will continue with CloudFlare, but its all pretty much the same.

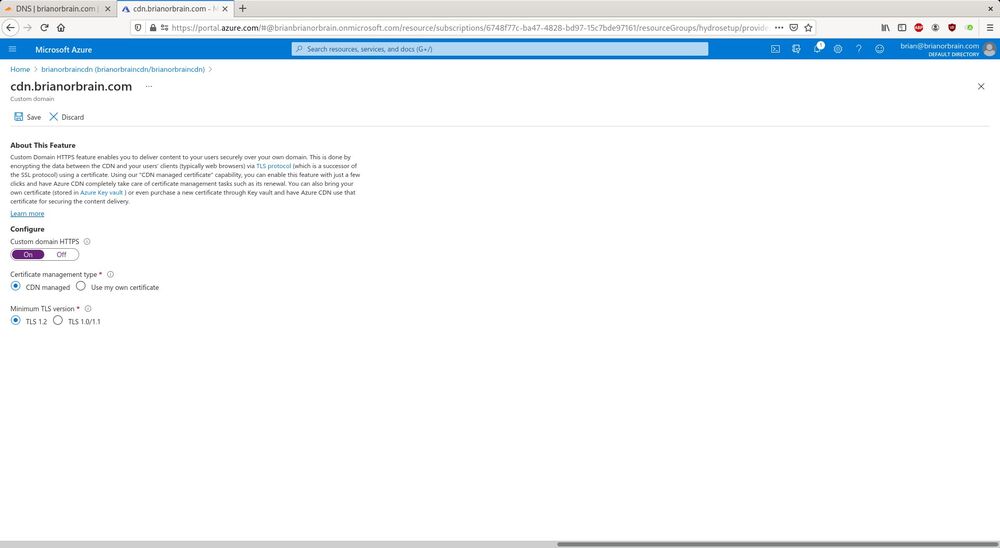
With the storage location entered as a cname on your domain, we can go back to Azure to set up the custom domain name there. This allows Azure to host your files directly from your domain name.
Finally, we want to turn on the custom HTTPS. This was our end goal to have files hosted with the HTTPS web address. This part might take a bit for Azure to verify your custom domain name but once it does everything will turn green and can now access your files from this new endpoint.
So now we can browse to any of the files that have been uploaded via our new web address. In this example I have a Hello World text file.
https://cdn.brianorbrain.com/wp-media/Azure/hello_world.txt
Real World Use
I can’t believe I had to do this, but having the ability to upload files like this has turned out quite helpful for work. For some reason where I work they hand a blanked ban on all FTP transfers. IT couldn’t download programs and firmware updates for a NHR I was working on. So what I ended up doing was downloading from the FTP on my personal computer, uploaded to my site and then was able to download the program right then and there to use at work. Cant believe some of the things we have to do to actually get work done.